How to create a Svelte form
Build a Svelte (SvelteKit) contact form that collects submissions with no backend. Copy-paste examples for a plain form and a JavaScript submission with success and error states.
In this guide we’ll look at how to add a Svelte contact form that collects submissions and emails you on every new one — without writing or hosting any backend code. We’ll use SvelteKit, start with a plain form, and then enhance it to submit in the background and show an inline confirmation.
Create a new Svelte app
We’re going to start from scratch and create a new Svelte app. If you already have one you can skip this step and go to the next one.
Go ahead and run the following in your terminal
npm create svelte@latest formbackend-svelte
We picked the skeleton app, which will just give us a barebones project structure. We’re using formbackend-svelte as our directory name but you can of course use whatever!
Next go in to the directory you just created and run npm install like so
cd formbackend-svelte
npm install
We can now go ahead and start the dev server by running
shell
npm run dev -- --open
and you should see this when visiting http://localhost:5173:
Create a contact form in FormBackend
Log in to your FormBackend account and visit the forms index page. Go ahead and create a new form and give it a name you can remember it by.
After your form has been created, you’ll see the “Submissions” page which is where new submissions will appear. If you navigate to the “Set up” page you can see the unique URL for your form. We’ll copy that!
Create a new contact us page in the Svelte app
Svelte’s routing system is based on the file system, so any directory you create inside src/routes will be the relative path of your site. So src/routes/contact will be accessible on http://localhost:5173/contact.
Go ahead and create a new directory inside of src/routes named contact and inside that we’ll create a file named +page.svelte with the following content (full path src/routes/contact/+page.svelte):
<h1>Contact us</h1>

<form action="https://www.formbackend.com/f/b1a2be3a2e0521ff" method="POST">
  <div>
    <label for="name">Name</label>
    <input type="text" id="name" name="name" required>
  </div>

  <div>
    <label for="email">Email</label>
    <input type="email" id="email" name="email" required>
  </div>

  <div>
    <label for="message">Message</label>
    <textarea id="message" name="message" required></textarea>
  </div>

  <button type="submit">Submit</button>
</form>
You’ll now have a simple unstyled form that looks like this

We can make the form look a little better by providing our own CSS. Let’s add the following at the bottom of src/routes/contact/+page.svelte
<style>
  h1 {
    font-family: Arial, Helvetica, sans-serif;
    font-size: 2rem;
    font-weight: 600;
    margin-bottom: 1rem;
  }
  .fieldset + .fieldset,
  form + form {
    margin-top: 8px;
  }

  label {
    font-family: Arial, Helvetica, sans-serif;
    color: #334155;
    display: block;
    font-size: .8rem;
    font-weight: bold;
    text-transform: uppercase;
  }

  input,
  textarea,
  select {
    border: 1px solid #ddd;
    color: #475569;
    font-size: 1rem;
    padding: 5px;
    border-radius: 4px;
  }

  button[type="submit"] {
    background: purple;
    background: #14b8a6;
    border: none;
    box-shadow: none;
    color: white;
    border-radius: 2px;
    font-size: .8rem;
    text-transform: uppercase;
    font-weight: 500;
    padding: 8px 12px;
    margin-top: 16px;
  }
</style>
We now have a styled form that looks like this
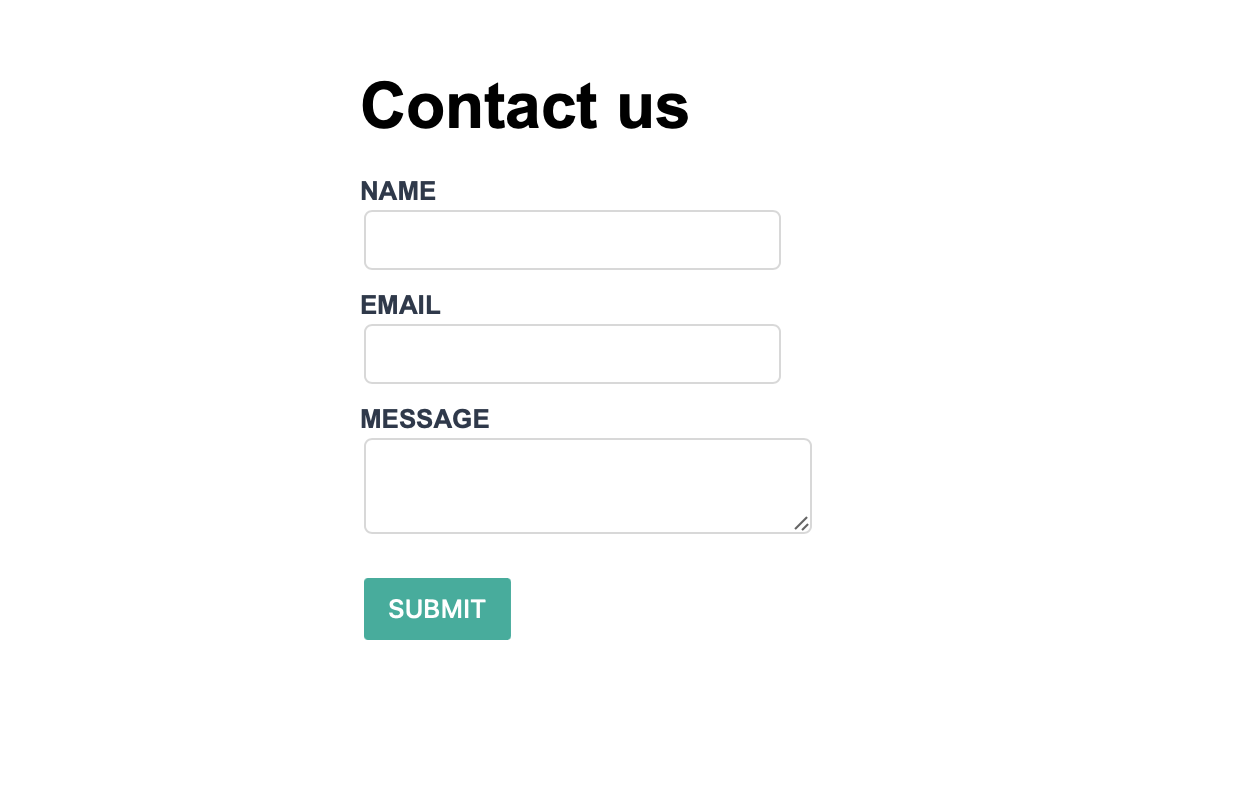
After filling it out and clicking the submit button, you’ll be redirected to FormBackend’s submission success page and if you navigate to the Submissions page for the form you created in FormBackend you should see the submission you just added.
Handling submissions with JavaScript
The plain form above redirects to FormBackend’s thank-you page on submit. To keep users on the
page and show an inline message, submit it in the background. Update
src/routes/contact/+page.svelte (this uses Svelte 5 runes):
<script>
  let status = $state('idle');

  async function handleSubmit(event) {
    event.preventDefault();
    status = 'submitting';

    const form = event.currentTarget;
    const response = await fetch(form.action, {
      method: 'POST',
      body: new FormData(form),
      headers: { accept: 'application/json' },
    });

    if (response.ok) {
      form.reset();
      status = 'success';
    } else {
      status = 'error';
    }
  }
</script>

<h1>Contact us</h1>

{#if status === 'success'}
  <p>Thanks! Your message has been sent.</p>
{:else}
  <form
    action="https://www.formbackend.com/f/your-form-id"
    method="POST"
    onsubmit={handleSubmit}
  >
    <div>
      <label for="name">Name</label>
      <input type="text" id="name" name="name" required>
    </div>

    <div>
      <label for="email">Email</label>
      <input type="email" id="email" name="email" required>
    </div>

    <div>
      <label for="message">Message</label>
      <textarea id="message" name="message" required></textarea>
    </div>

    <button type="submit" disabled={status === 'submitting'}>
      {status === 'submitting' ? 'Sending…' : 'Submit'}
    </button>
    {#if status === 'error'}
      <p>Something went wrong — please try again.</p>
    {/if}
  </form>
{/if}
A few notes:
event.preventDefault()stops the browser’s default full-page submission. On Svelte 4, useon:submit|preventDefault={handleSubmit}instead and drop the manual call.$stateis the Svelte 5 rune for reactive state. On Svelte 4, a plainlet status = 'idle'is reactive on its own.- The browser’s
FormDatareads every field from the form, and theaccept: application/jsonheader tells FormBackend to return JSON instead of an HTML page.
What to configure next
Your Svelte form is live. Here’s what you can set up in FormBackend:
- Email notifications: Get an email for every submission, optionally with file attachments
- Auto-reply emails: Send a confirmation to the person who submitted your form
- Spam protection: Built-in spam filtering is always active. Add Cloudflare Turnstile for an extra layer
- Integrations: Forward submissions to Slack, Discord, Google Sheets, or your own API via webhooks
- File uploads: Accept file uploads by adding
enctype="multipart/form-data"to your form
Guides for other frameworks: React, Vue.js, Next.js, Astro, Hugo, and more.
Add a form backend to your site in minutes
Connect any HTML form to FormBackend and start collecting submissions — no backend code required.
Start free